VibePics Studio Tutorial
Master the art of creating stunning dating profile pictures with our comprehensive guide to Image Settings and Prompt Editor parameters.
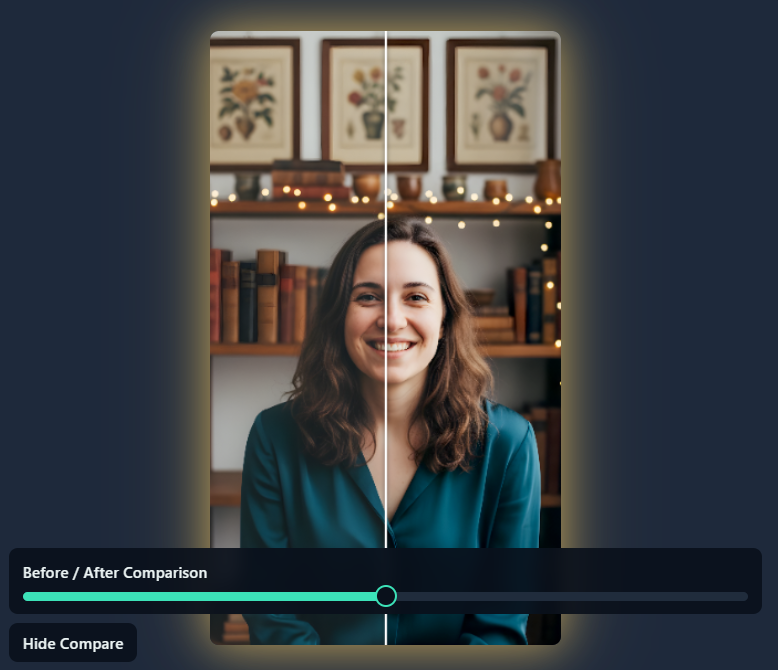
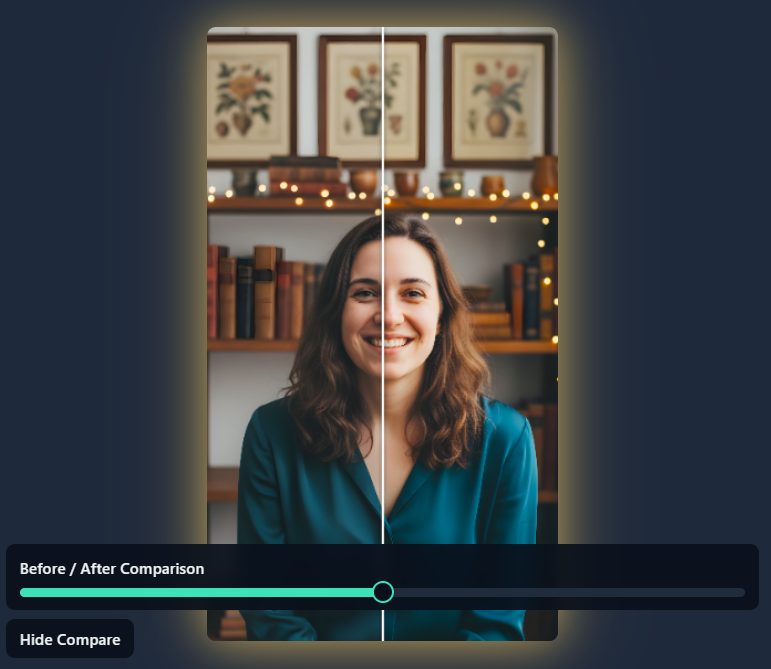
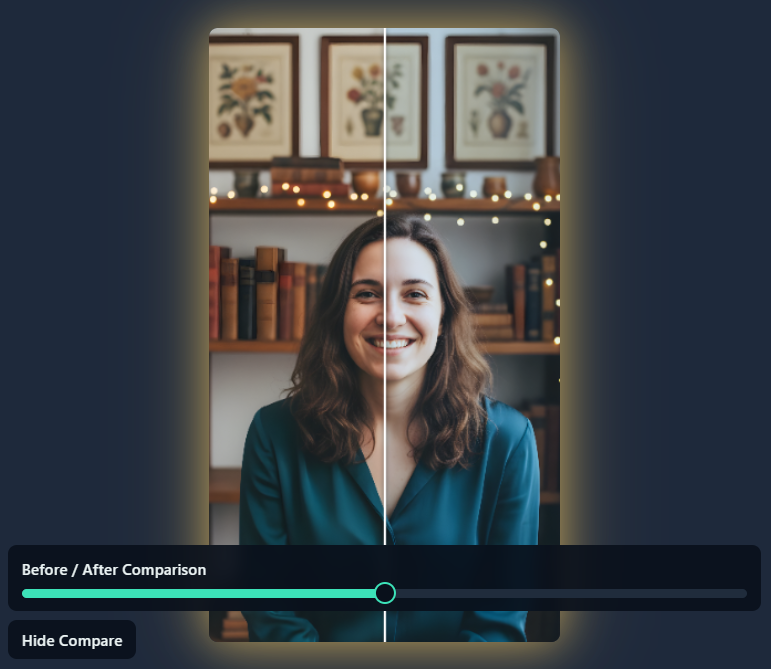
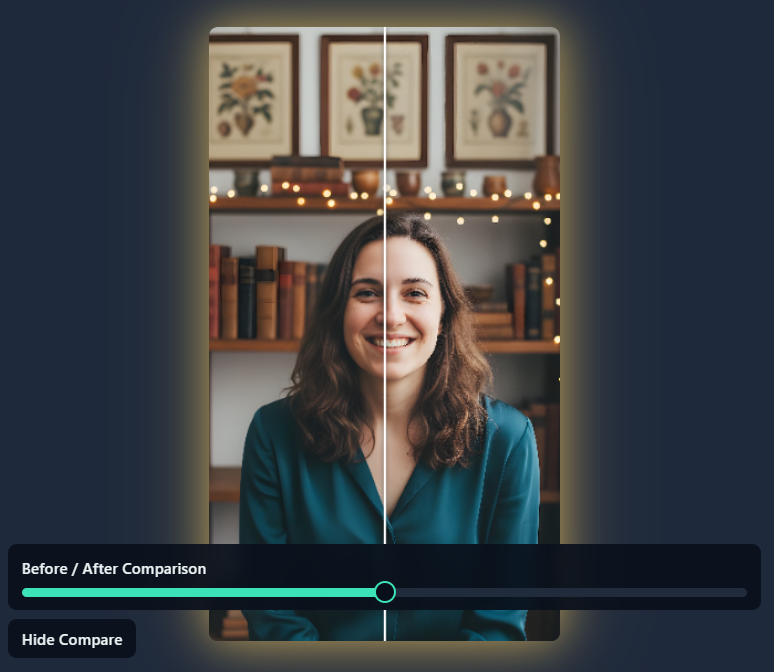
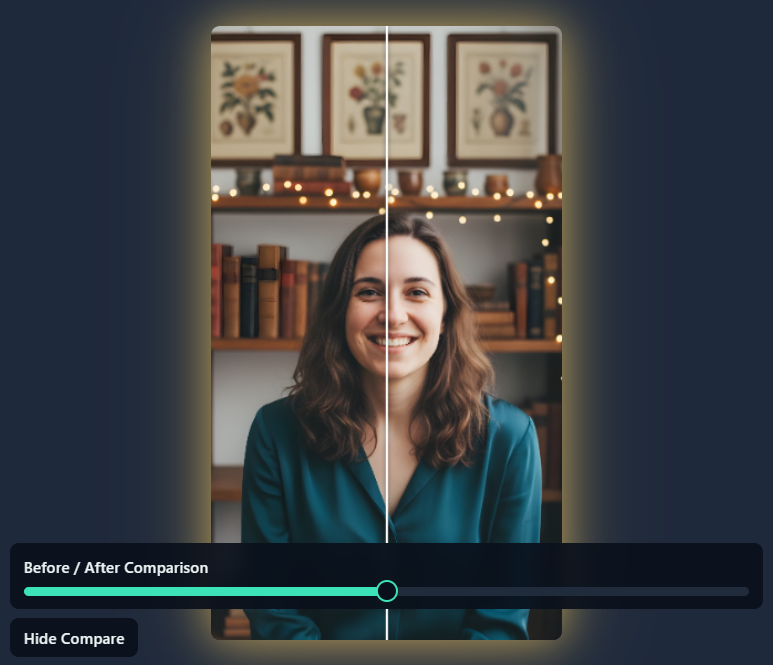
Image adjustments are free and don't consume credits. Use these tools to fine-tune your images after generation.
When to use: Use exposure adjustments when your photo appears too dark or too bright. Increase exposure for underexposed images, decrease for overexposed ones.
Pro tip: Subtle adjustments (±10-20) work best. Extreme exposure changes can wash out details or create unnatural shadows.

When to use: Increase contrast to make your image more dynamic and eye-catching. Decrease contrast for a softer, more dreamy look.
Pro tip: Higher contrast works great for dramatic, bold profiles. Lower contrast creates a more romantic, gentle aesthetic.
When to use: Boost saturation to make colors pop and create vibrant, energetic photos. Reduce saturation for a more muted, sophisticated look, or go to zero for black and white.
Pro tip: Oversaturated images can look artificial. Aim for natural-looking color enhancement rather than extreme vibrancy.
When to use: Adjust temperature to correct color casts or create a specific mood. Increase for warmer, golden tones (sunset, cozy feel). Decrease for cooler, crisp tones (modern, fresh look).
Pro tip: Warmer temperatures work great for romantic or casual profiles. Cooler temperatures suit professional or sophisticated aesthetics.
When to use: Use sharpening to bring out fine details like hair texture, facial features, or fabric patterns. Particularly useful for images that appear slightly soft or out of focus.
Pro tip: Start with low values (10-30) and gradually increase. Over-sharpening creates visible halos and an artificial look. Use sparingly for a natural result.
When to use: Apply skin smoothing to reduce the appearance of minor blemishes, pores, or texture variations. The edge-aware algorithm preserves facial features like eyes, eyebrows, and lips while smoothing skin areas.
Pro tip: Keep it subtle (10-40 range) for natural results. Too much smoothing creates an artificial, "plastic" appearance. Aim for refined, not filtered.
VibePics optimizes your photos for different platforms. Select the right use case to get platform-specific quality requirements and best practices.
What makes a great dating profile photo:
- ✓ Warm, inviting expression with genuine smile
- ✓ Sharp focus on face and eyes
- ✓ Flattering angles and natural lighting
- ✓ Personality shown through setting or activity
- ✓ Variety: include full-body, close-up, and activity shots
Common mistakes to avoid:
- ✗ Overly serious or intense expressions
- ✗ Group photos as main pic (hard to identify you)
- ✗ Heavy filters or excessive editing
- ✗ Sunglasses hiding your face
- ✗ Poor lighting or blurry images
Recommended settings:
- Scene: Café, Park, Beach, Urban Downtown
- Pose: Waist-up, Close-up, Candid, Walking
- Lighting: Natural Daylight, Golden Hour, Soft Studio
- Mood: Approachable, Confident, Playful
- Background: Blurred Bokeh, Soft Blur, Scenic
💡 Pro Tip
Have at least 3-4 varied photos: one clear face shot, one full-body, one doing an activity you enjoy.
What makes a great professional photo:
- ✓ Business-appropriate attire
- ✓ Confident, approachable expression
- ✓ Clean, uncluttered background
- ✓ Professional lighting with no harsh shadows
- ✓ Headshot or shoulders-up framing
Common mistakes to avoid:
- ✗ Casual or party settings
- ✗ Cropped from group photos
- ✗ Overly artistic or stylized
- ✗ Distracting backgrounds
- ✗ Too casual or too stiff
Recommended settings:
- Scene: Studio, Indoor Office, Library
- Pose: Headshot, Close-up, Three-quarter
- Lighting: Soft Studio, Window Light, Natural Daylight
- Mood: Confident, Professional, Approachable
- Background: Solid White, Minimalist, Soft Blur
💡 Pro Tip
Look directly at the camera with a slight smile. You want to appear confident yet approachable.
What makes a great social media photo:
- ✓ Vibrant colors and engaging composition
- ✓ Authentic personality shining through
- ✓ Works in square AND vertical formats
- ✓ High resolution for mobile viewing
- ✓ Eye-catching without being overly posed
Common mistakes to avoid:
- ✗ Too formal or stiff
- ✗ Poor cropping for square format
- ✗ Overly filtered or fake-looking
- ✗ Low resolution or pixelated
- ✗ Inconsistent with your vibe/personality
Recommended settings:
- Scene: Beach, Urban Downtown, Café, Park
- Pose: Candid, Walking, Action, Full-body
- Lighting: Golden Hour, Natural Daylight, Bright Airy
- Mood: Playful, Natural, Adventurous
- Background: Scenic, Urban Architecture, Vibrant
💡 Pro Tip
Test your profile pic in both square (1:1) and story (9:16) formats to ensure it works everywhere.
What makes a great general avatar:
- ✓ Clear, recognizable at small sizes
- ✓ Good contrast for visibility
- ✓ Works across different platforms
- ✓ Simple, uncluttered composition
- ✓ Timeless and versatile style
Common mistakes to avoid:
- ✗ Too much detail that gets lost when small
- ✗ Low contrast with background
- ✗ Busy, distracting backgrounds
- ✗ Too trendy or platform-specific
- ✗ Face too small in frame
Recommended settings:
- Scene: Studio, Indoor Home, Minimalist
- Pose: Headshot, Close-up, Front-facing
- Lighting: Soft Studio, Window Light, Even lighting
- Mood: Confident, Natural, Friendly
- Background: Solid Color, Soft Blur, Minimalist
💡 Pro Tip
Choose a timeless look that you won't need to update frequently. Simple and clear beats trendy and complex.
Your reference photos are the foundation of every AI-generated image. The better your reference set, the more accurately your generated photos will capture your unique appearance.
📷 Technical Specifications
- Resolution: Minimum 512×512px (1024×1024+ recommended)
- File Format: JPEG, PNG, WebP, or HEIC
- File Size: Under 10MB per photo
- Face Coverage: Face should occupy 20-80% of image
👁️ Face Visibility Requirements
- ✓ Both eyes clearly visible
- ✓ Nose fully visible
- ✓ Mouth and chin visible
- ✗ No sunglasses, masks, or heavy face shadows
💡 Lighting Requirements
- ✓ Even, natural lighting preferred
- ✓ Avoid harsh shadows on face
- ✗ Avoid backlit photos (face in shadow)
- 💡 Natural daylight works best
🔍 Focus & Clarity
- ✓ Face must be in sharp focus
- ✓ Slight background blur is acceptable
- ✗ Avoid motion blur
- ✗ Avoid heavily compressed images
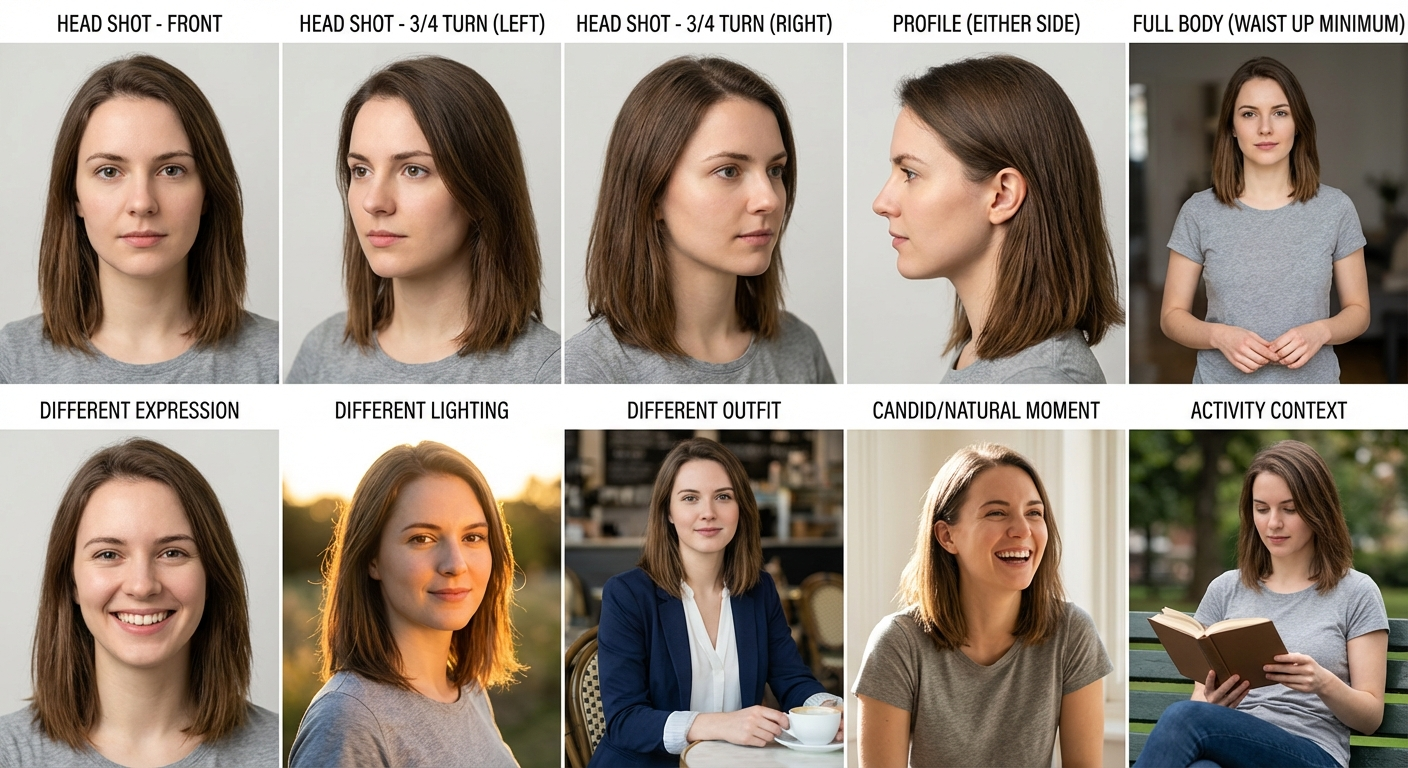
📸 Required Photos (First 5)
1. Head Shot - Front
- • Face straight to camera
- • Neutral or slight smile
- • Good lighting on both sides
- • Plain background preferred
2. Head Shot - 3/4 Turn (Left)
- • Face turned ~30-45° left
- • Both eyes still visible
- • Shows nose bridge & cheek
3. Head Shot - 3/4 Turn (Right)
- • Face turned ~30-45° right
- • Both eyes still visible
- • Consistent lighting with #2
4. Profile (Either Side)
- • Side view showing ear
- • Jawline & nose profile visible
- • Good lighting to define features
5. Full Body (Waist Up Min)
- • Shows body proportions
- • Face still clearly visible
- • Natural standing/seated pose
✨ Recommended Photos (6-10)
Different Expression
Smiling, laughing, serious
Different Lighting
Outdoor vs indoor
Different Outfit
Casual vs formal
Candid Moment
Natural, less posed
Activity Context
Hiking, dining, etc.
Filtered Selfies
AI learns from filters, not your real face
Group Photo Crops
Usually too low resolution when cropped
Old Photos
If appearance has changed, results won't match
Same Angle Only
AI can't infer angles it hasn't seen
Heavy Makeup/Costume
Results may look costumed or unnatural
Beauty Mode Photos
Airbrushed images teach incorrect features
💡 Pro Tip
Before uploading, ask yourself: Can I clearly see both eyes, nose, and mouth? Is the photo in sharp focus? Is there even lighting without harsh shadows? If yes to all, it's likely a great reference photo!
- Person References: Preserve your character, facial features, and distinctive characteristics across different scenes and expressions. The AI learns your unique appearance to maintain consistency while adapting to various poses and emotions.
- Clothing References: Guide the AI to generate specific outfits, styles, or fashion elements you want to see in your images. Our processing automatically removes other people and artifacts from the images, so focus on capturing the specific article of clothing or outfit detail you want to replicate.
- Hairstyle References: Show the AI specific hairstyles, hair colors, or hair textures you want to achieve. The image processing filters out other people and distractions, so ensure each photo clearly captures the hairstyle detail you're targeting.
- Background References: Control the setting and environment of your generated images by providing examples of locations, scenery, or background aesthetics you want to replicate.
| Photo Type | Why It Matters | Key Tips |
|---|---|---|
| Front View | Core facial structure | Both eyes visible, neutral expression |
| 3/4 Turns | Nose shape, cheek contours | Include both left and right turns |
| Profile | Jawline, nose bridge | Clear side view with good lighting |
| Full Body | Body proportions | Face still clearly visible |
| Expressions | Personality, natural range | Mix of smiling, serious, candid |
| Different Lighting | Skin tone in various conditions | Indoor, outdoor, morning, evening |
The Prompt Editor gives you precise control over your AI-generated images. Each parameter influences specific aspects of the final result.
Choose the setting that best matches your personality and the vibe you want to convey:
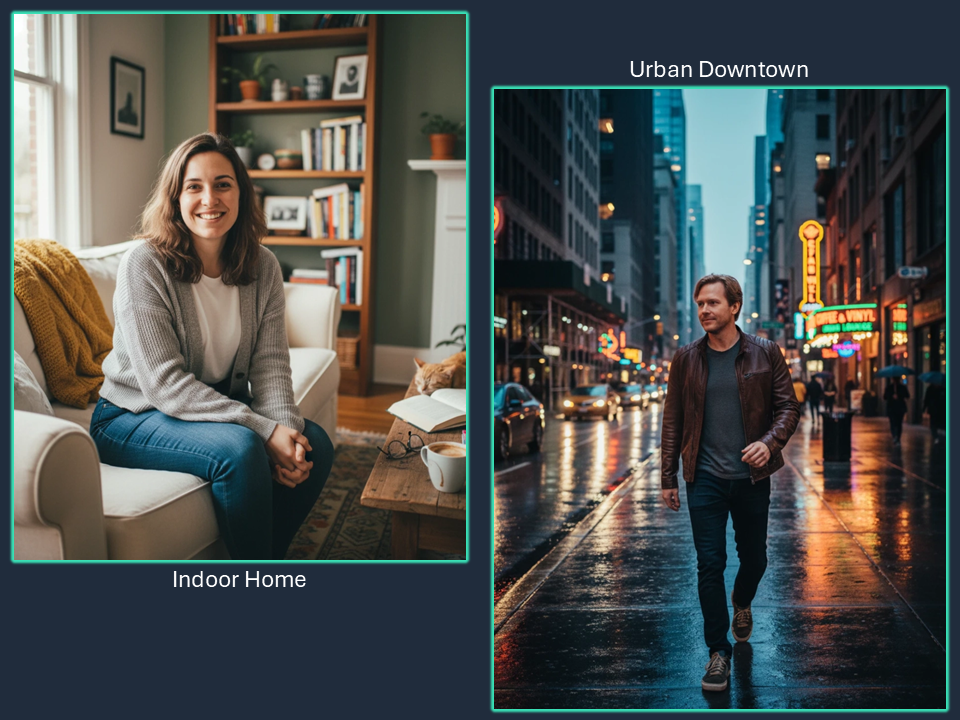
- Indoor Home: Cozy, intimate, approachable
- Indoor Café: Social, cultured, urban lifestyle
- Outdoor Park: Nature-loving, active, relaxed
- Beach: Adventurous, carefree, vacation vibes
- Studio: Professional, polished, classic
- Urban Downtown: Trendy, energetic, city life
- Rooftop: Modern, sophisticated, aspirational
- Nature/Forest: Outdoorsy, peaceful, grounded
- Mountain: Adventurous, strong, inspiring
- Garden: Romantic, artistic, gentle
- Gym/Fitness: Active, health-conscious, athletic
- Library: Intellectual, thoughtful, refined
Custom input: Enter any location like "art gallery", "bookstore", "farmers market", or "historic building"
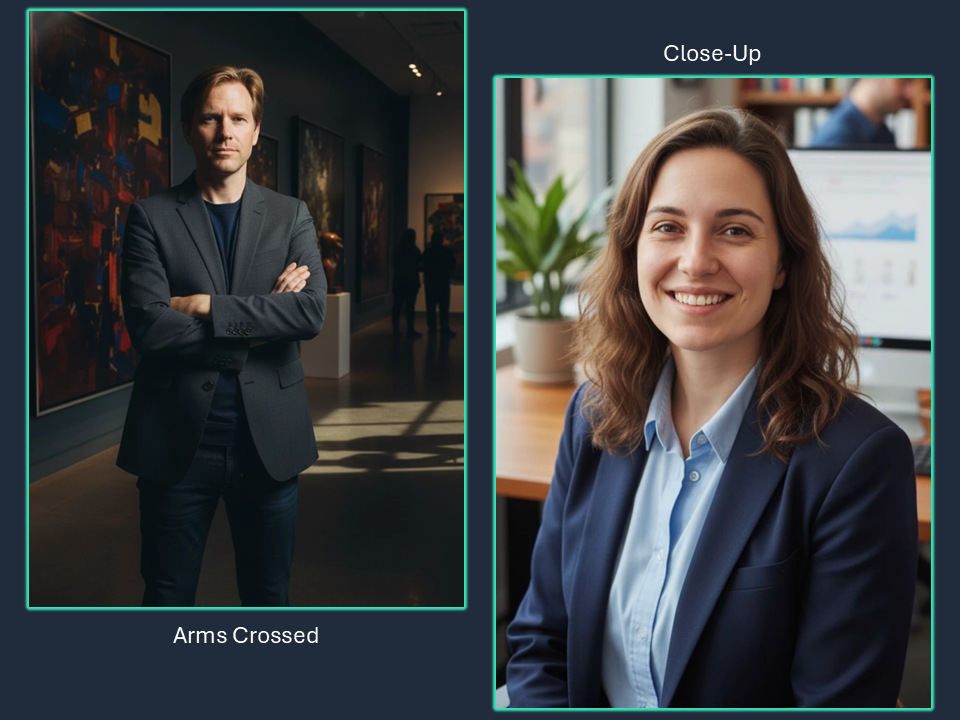
The pose dramatically affects how people perceive you:
- Headshot: Face-focused, professional, great for facial features
- Close-up: Intimate, expressive, shows personality
- Waist-up: Shows upper body, balanced composition
- Full-body: Shows complete outfit and physique
- Sitting: Relaxed, casual, approachable
- Leaning: Confident, effortless cool
- Walking: Natural, dynamic, candid feel
- Action: Energetic, active lifestyle
- Profile: Artistic, mysterious, strong features
- Three-quarter: Flattering angle, dimension
- Candid: Natural, authentic, unposed
- Arms Crossed: Confident, strong, self-assured
Custom input: Describe unique poses like "looking over shoulder", "hands in pockets", "laughing naturally"
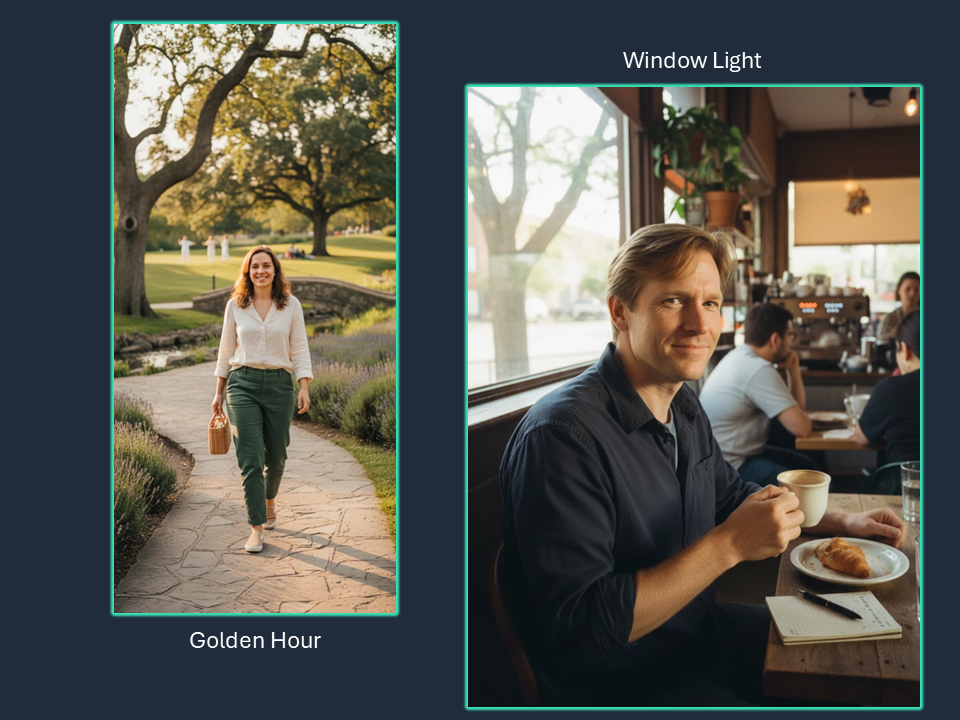
Lighting creates mood and atmosphere:
- Natural Daylight: Clean, bright, honest look
- Golden Hour: Warm, romantic, flattering glow
- Blue Hour: Cool, dreamy, artistic twilight
- Soft Studio: Even, flattering, no harsh shadows
- Hard Studio: Dramatic, edgy, high-fashion
- Window Light: Natural, soft, authentic feel
- Backlit: Halo effect, ethereal, glowing
- High-contrast: Bold, dramatic, striking
- Cinematic: Moody, storytelling, film-like
- Moody Dark: Mysterious, intense, dramatic
- Bright Airy: Light, fresh, optimistic
- Sunset Glow: Warm, romantic, magical
Custom input: Try "rim lighting", "split lighting", "Rembrandt lighting", or "neon glow"
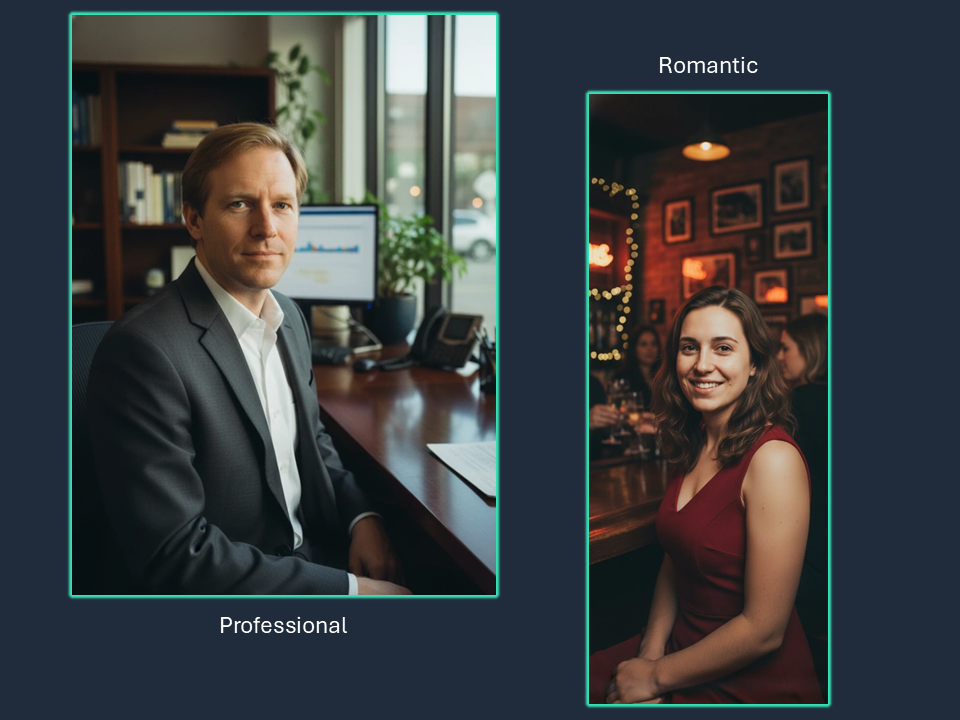
The mood sets the emotional context:
- Confident: Self-assured, strong presence
- Approachable: Friendly, warm, inviting
- Professional: Polished, serious, capable
- Playful: Fun, lighthearted, youthful
- Romantic: Soft, dreamy, intimate
- Adventurous: Bold, exciting, dynamic
- Mysterious: Intriguing, subtle, alluring
- Elegant: Sophisticated, refined, classy
- Edgy: Bold, unconventional, daring
- Natural: Authentic, genuine, real
Custom input: Express any feeling like "joyful", "contemplative", "fierce", "serene", "energetic"
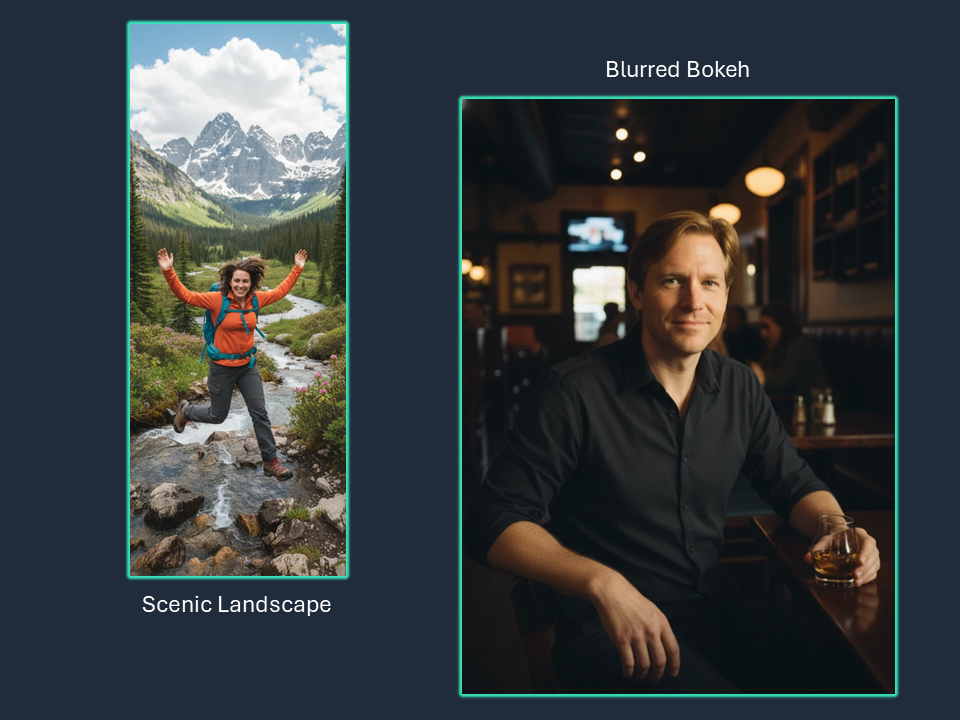
The background affects focus and aesthetic:
- Blurred Bokeh: Beautiful blur, subject pops, professional
- Soft Blur: Gentle defocus, dreamy look
- Detailed Scene: Full context, storytelling
- Solid White: Clean, minimal, timeless
- Solid Black: Dramatic, striking, bold
- Solid Color: Vibrant, modern, eye-catching
- Scenic Landscape: Nature context, expansive
- Urban Architecture: City vibe, modern lines
- Nature Greenery: Fresh, organic, calming
- Textured Wall: Interesting pattern, depth
- Busy Street: Urban energy, dynamic
- Minimalist: Simple, clean, focused
Custom input: Specify unique backgrounds like "brick wall", "autumn leaves", "city skyline", "desert sand"
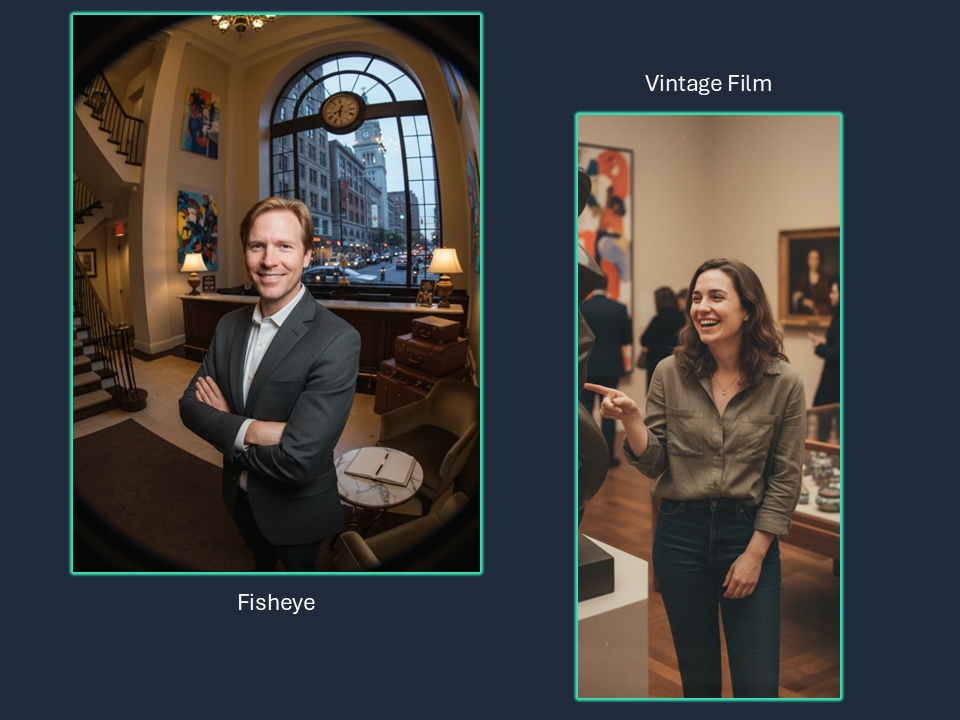
Lens choice affects perspective and style:
- 50mm Standard: Natural perspective, versatile
- 85mm Portrait: Flattering compression, classic portraits
- 35mm Versatile: Slightly wide, environmental
- 135mm Telephoto: Strong compression, isolated subject
- 24mm Wide-angle: Expansive view, dramatic
- Macro Close: Extreme detail, intimate
- Vintage Film: Nostalgic, analog warmth
- Polaroid Instant: Retro, square format charm
- Medium Format: High-end, cinematic depth
- Fisheye: Ultra-wide, creative distortion
- Tilt-shift: Selective focus, artistic blur
- Smartphone Modern: Computational, HDR look
- Tech Noir: Sci-fi noir, cyberpunk meets film noir, neon shadows
- Art Noir: Stylized noir, dramatic shadows, high contrast cinematic
- Anamorphic: Wide cinematic look, horizontal lens flares, movie-like
- Film Grain: Textured, organic, analog film texture
- Portra 400: Soft skin tones, natural, portrait film favorite
- Cinestill 800T: Tungsten-balanced, halation glow, night photography
- High Fashion: Editorial, striking poses, dramatic styling
- Editorial: Magazine-style, polished, commercial
- Double Exposure: Layered images, creative, surreal
- Vaporwave: Retro-futuristic, pink/cyan/purple palette
- 1980s Neon: Bold colors, neon accents, synth-wave aesthetic
- Disposable Camera: Flash aesthetic, candid, nostalgic
- Infrared: Surreal, white foliage, dreamlike
- Silhouette: Backlit, shape-focused, dramatic
Custom input: Experiment with "long exposure", "cross-processed", "daguerreotype", "split toning"
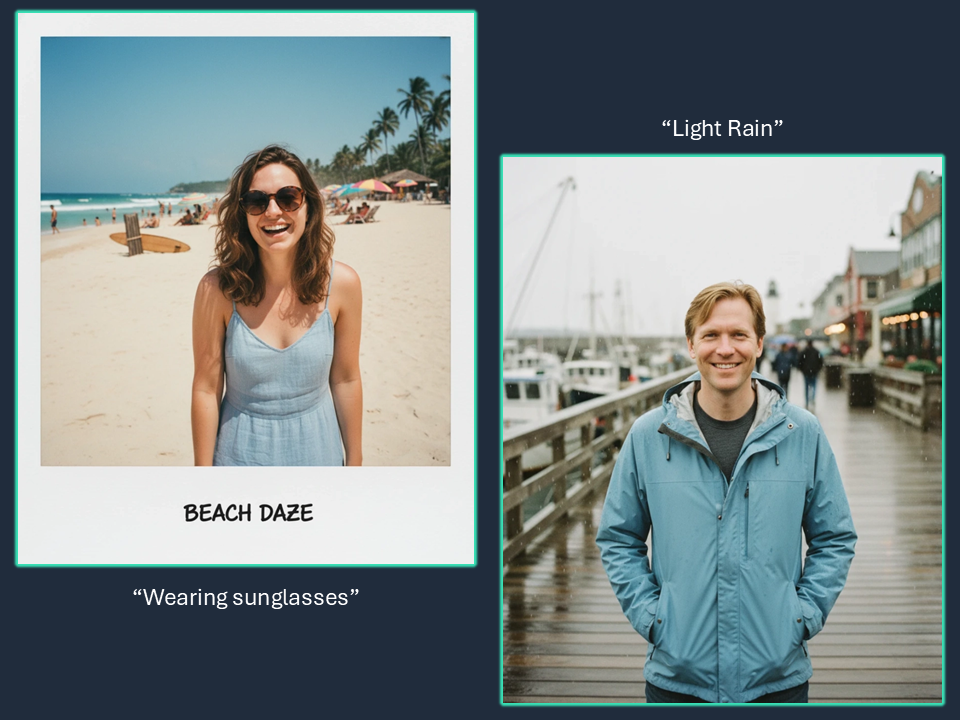
Add any specific details to refine your image:
- Clothing: "wearing a leather jacket", "casual t-shirt and jeans"
- Accessories: "wearing sunglasses", "with a watch"
- Expression: "genuine smile", "serious expression", "laughing"
- Hair: "hair blowing in wind", "styled hair"
- Props: "holding coffee cup", "with a dog"
- Time of Day: "during sunrise", "evening light"
- Weather: "light rain", "foggy atmosphere"
- Technical: "shallow depth of field", "8k resolution"
Pro tip: Be specific but concise. Focus on 2-3 key details rather than overwhelming with instructions.
Begin with just a few parameters (Scene, Pose, Lighting) and see the results. You can always add more specificity in subsequent generations.
Ensure your choices work together. For example: Beach + Golden Hour + Relaxed Mood creates a cohesive aesthetic.
Don't be limited by presets! The custom input fields let you specify exactly what you envision. Try unique combinations.
Generate multiple variations by tweaking one parameter at a time. This helps you understand what each setting does.